Newsletter
Stay up to-date with the latest imaging, analysis and metrology news from Digital Surf.

Bioceramics are particularly useful in the repair and reconstruction of bone. A group of researchers at the University of Limoges investigated the impact of bioceramic surface topography and composition on protein adhesion forces.
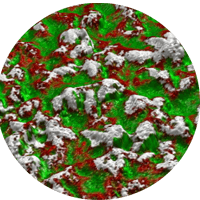
Researchers at L'Oréal use Raman imaging to study the physicochemical properties of sunscreen to better understand the distribution of UV filters.
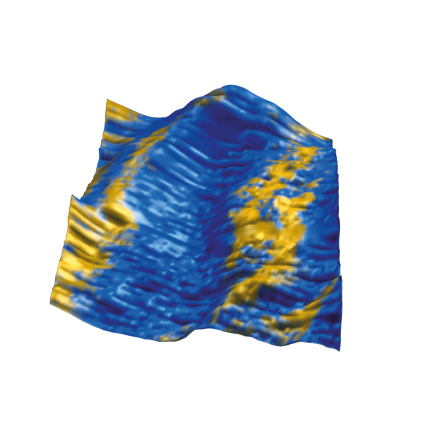
Recently, graphene oxide nanostructures have attracted great interest due to their exceptional physicochemical properties for many applications, including flexible electronics and water purification.
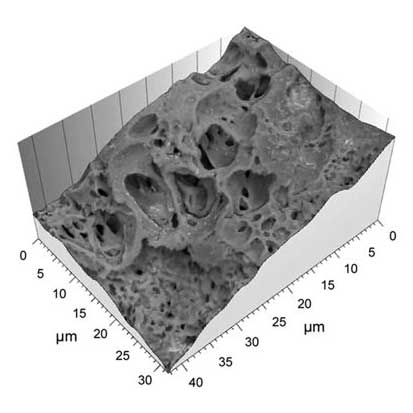
Using scanning electron microscopy and Hitachi map 3D software based on Mountains® technology, cell biology scientists at the University of Miyazaki (Japan) defined a new method for examining stem cell architecture.
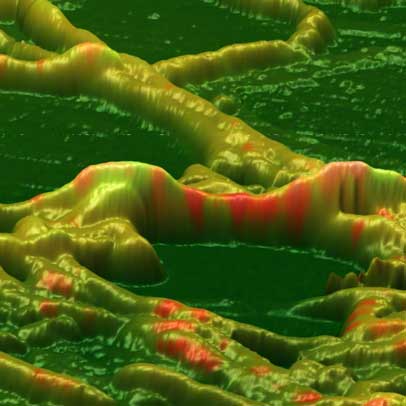
During the last decade, research has shown that bio-oil fermentation by micro-organisms is a promising potential source of bio-fuel. Its renewability makes it a good alternative to bio-fuel production.

The goal of the NanoRef programme, involving multiple partners (LP-Cnam, INM, LPUB, Institut Fresnel, Novasic and LNE), is to develop a roughness standard with a quasi-continuum spatial frequency spectrum and to define the appropriate machining and polishing processes.
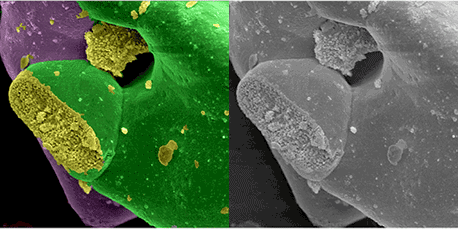
LABMEM facility scientists at the Universidad Nacional de San Luis (Argentina) investigated properties of an inorganic compound for use as a solid electrolyte on a high temperature fuel cell (SOFC type).
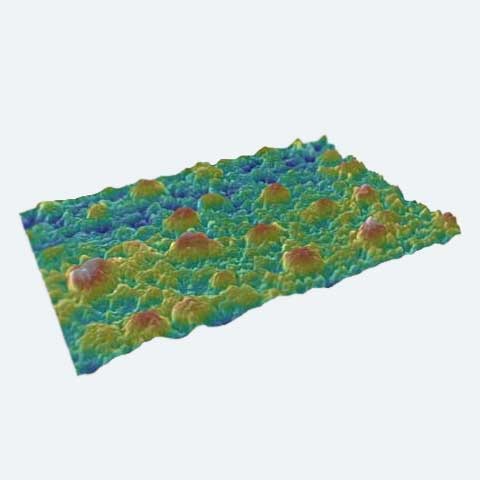
Researchers at the FEMTO-ST Institute in Besançon, France studied methods for fabricating lithium niobate ridges to be used for the development of programmable microcomponents.
Nanolithography is a precise patterning technology used to fabricate functional nanostructures for applications in biosensors, advanced materials and extensively in the semiconductor sector for solar cells, printed electronics, LED, MEMS, etc.
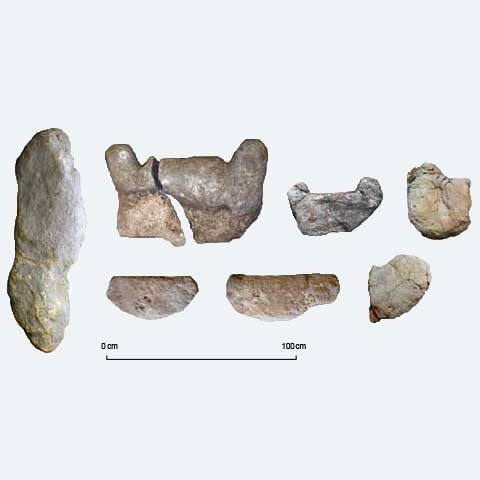
Tools for measuring surface roughness were used to study stelae and a menhir from the Late Neolithic-Chalcolithic period (around 3000 BC) discovered during the excavation of a prehistoric settlement in the Serra del Mas Bonet in Catalonia (Spain).
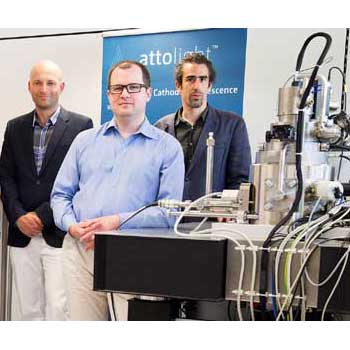
Quantitative cathodoluminescence technology coupled with the power of Mountains® software made it possible to localize and identify degraded layers in state-of-the-art green laser diodes.
Friction, core and lubrication zones of a motor cylinder were studied in order to investigate opportunities for improving fuel efficiency and thus reduce harmful emissions. Mountains® software was used to provide advanced analysis of the volume of the zones studied.